There's no better way to experience the beauty of Zion than getting out on the trails for a hike. And luckily, there are quite a few beautiful and family friendly hiking trails within Zion National Park. Whether you're looking for an easy stroller-friendly route or a challenging hike up to sweeping canyon views - these are best Grand Canyon hikes to take with kids!
What's in this Article? (Jump ahead here.)
Riverside Walk
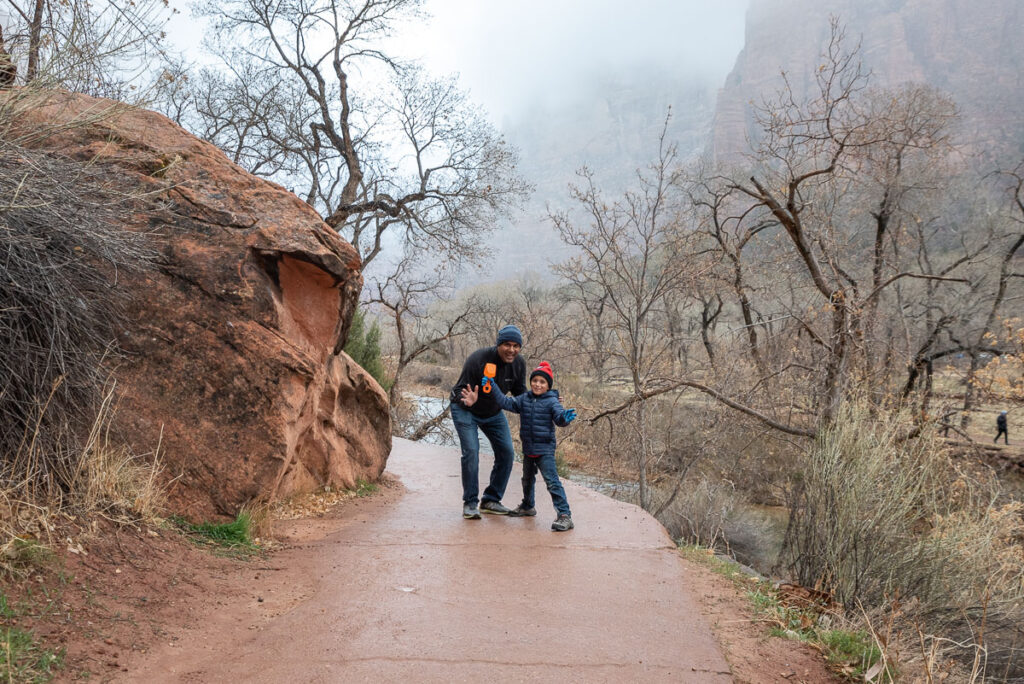
The Riverside Walk is probably the most family friendly hike you can take within Zion National Park. The Riverside Walk is a roughly one mile round trip trail that runs alongside the Virgin River. At the end of the Riverside Walk is the entrance to The Narrows, which is one of Zion's most famous attractions. (More on The Narrows further down!)
To reach the trailhead, you will need to take one of the free park shuttle buses to the Temple of Sinawava stop. From there you simply hop onto the paved trail running along the river.
The entire length of Riverside Walk trail is fully paved, making this a completely safe option for families with very young kids. You could even take a stroller.
But if you don't mind getting off the paved trail, there are also footpaths right alongside the river for much of the way. We enjoyed meandering along with the river, looking for frogs, and hopping across the rocks!
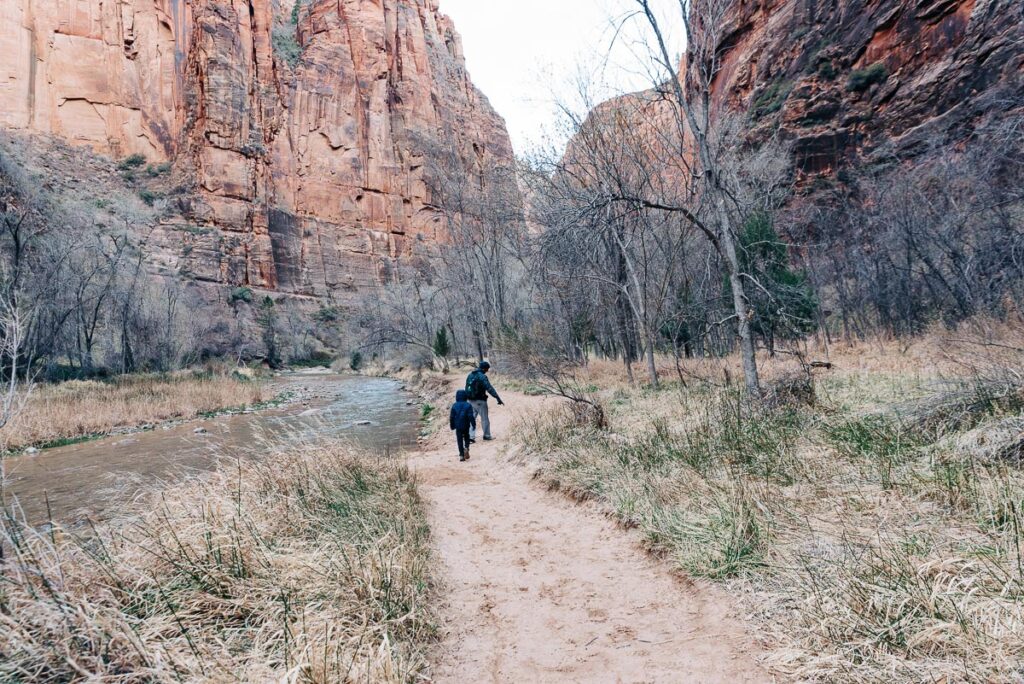
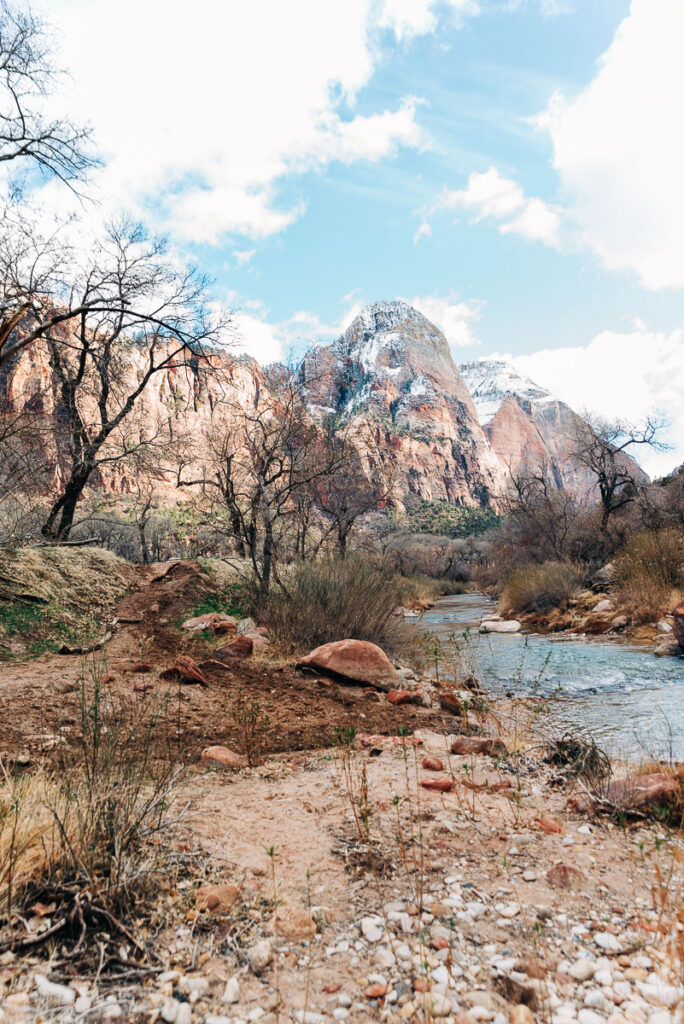
There are some absolutely gorgeous views of the river and red rock cliffs along the way!
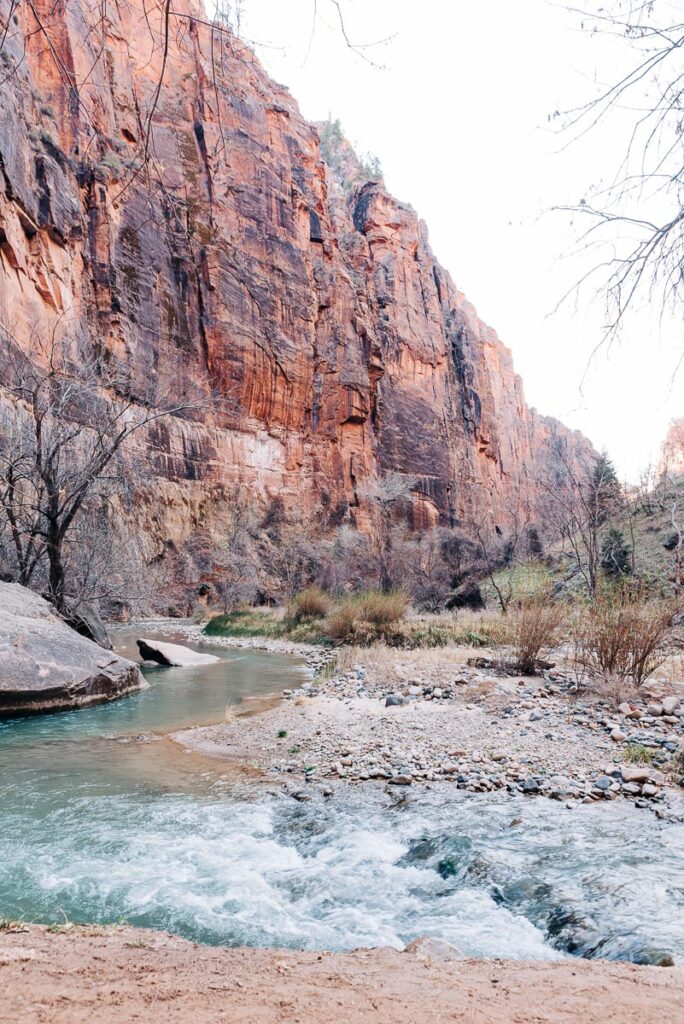
I recommend hiking all the way to the end of Riverside Walk where you will find the entrance to the Narrows. You'll know you're there because you will see all the hikers suiting up in their waterproof gear and wading into the river.
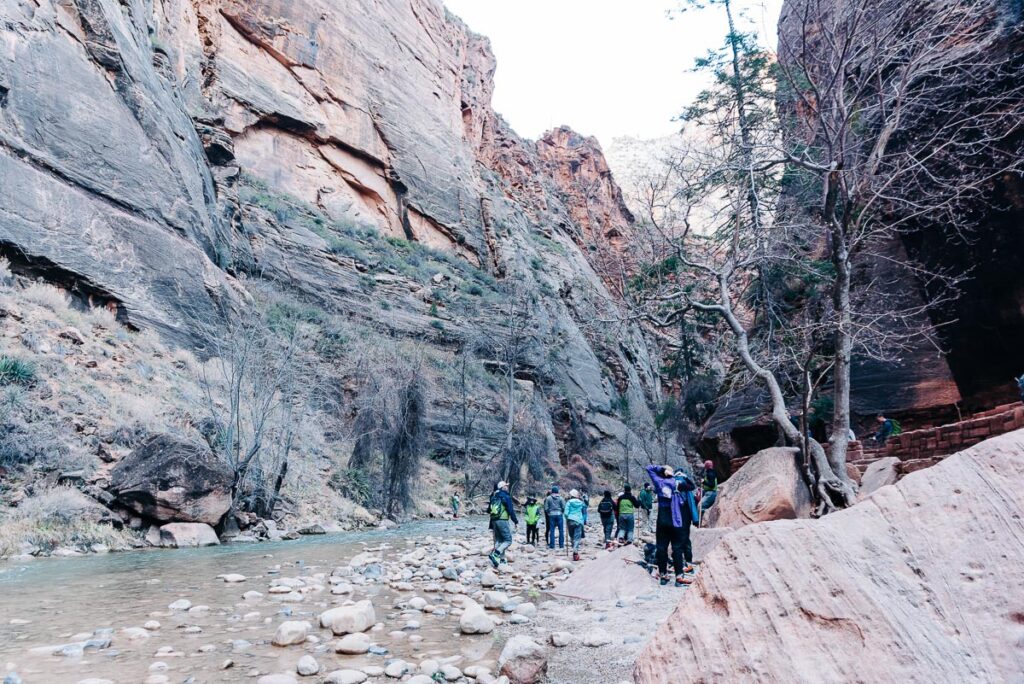
Yep - hiking the Narrows requires actually hiking through (and in some cases swimming) the river!
This is a great spot to take a little snack break before hiking back the way you came on Riverside Walk.

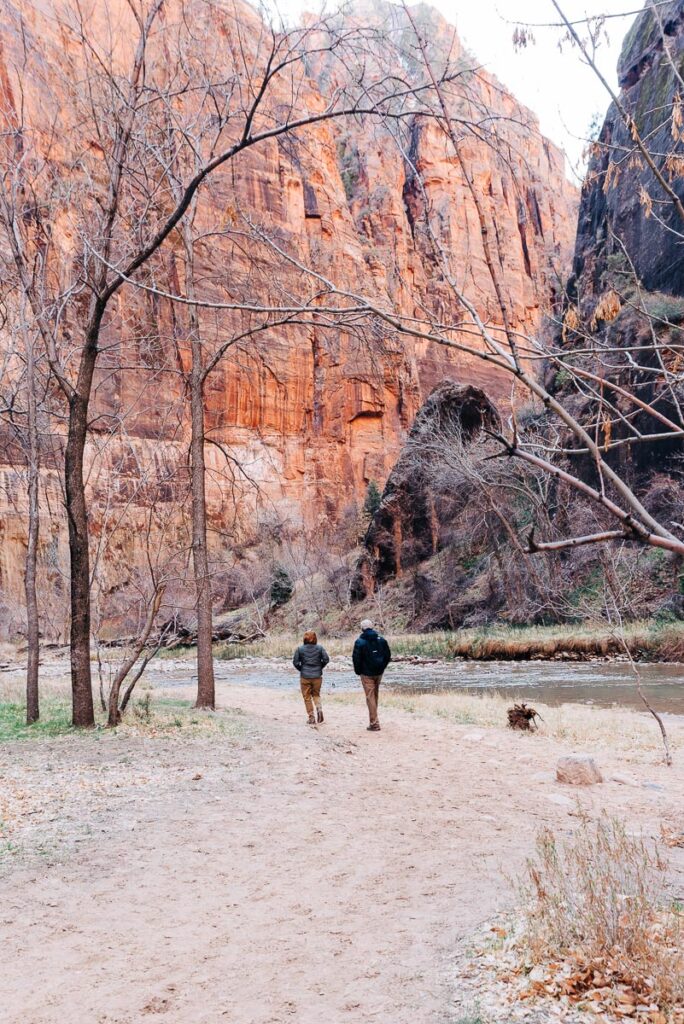
Then simply enjoy a leisurely walk back along the river! This scenery just never gets old.
You'll need to hop back on the shuttle bus, where you can head to Zion Lodge or the Visitor's Center. But either way, you'll pass right by the Big Bend shuttle stop. I recommend taking a quick hop out to take in the view. There's not much at this stop to do, but it's worth taking a few minutes for some photos. You can even see the famous Angel's Landing from here!
Emerald Pools Trail
The Emerald Pools Trails are some of the most visited in the park, in large part because of their location with a trailhead right across from the Zion Lodge. They are also one of the most fun areas to explore with kids. In my opinion, these trails offer enough elevation to make it feel like a "real" hike, without introducing anything too dangerous.
The Emerald Pool Trails are actually a grouping of three trails - the Lower Emerald Pool Trail, Middle Emerald Pool Trail, and Upper Emerald Pool Trail. You can hike all three or just one or two of them, making it easy to customize this hike to your own family's capabilities.

(Map data ©2022 Imagery ©2022 , Maxar Technologies, State of Utah, USDA/FPAC/GEO)
If you hike all three trails together it's a roughly 2.5 miles roundtrip loop. For most families, this will take about an hour and a half to complete, but you might want to plan some extra time for rest stops or playing by the waterfall at the end if you have little ones.
You can actually start off on either the Lower or Middle trail - but here is exactly how I suggest tackling these:
The trailhead is located right across the street from Zion Lodge. There's a small parking area there or you can park at the lodge and cross over to the trailhead. You'll see a small footbridge there - cross it to get to the beginning of the trails!
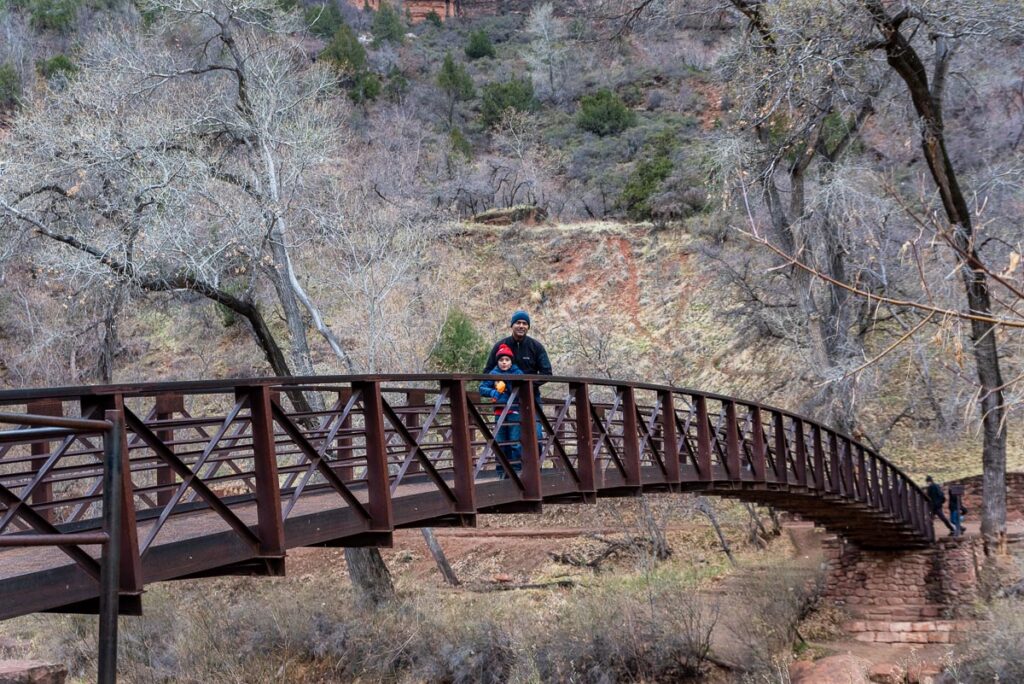
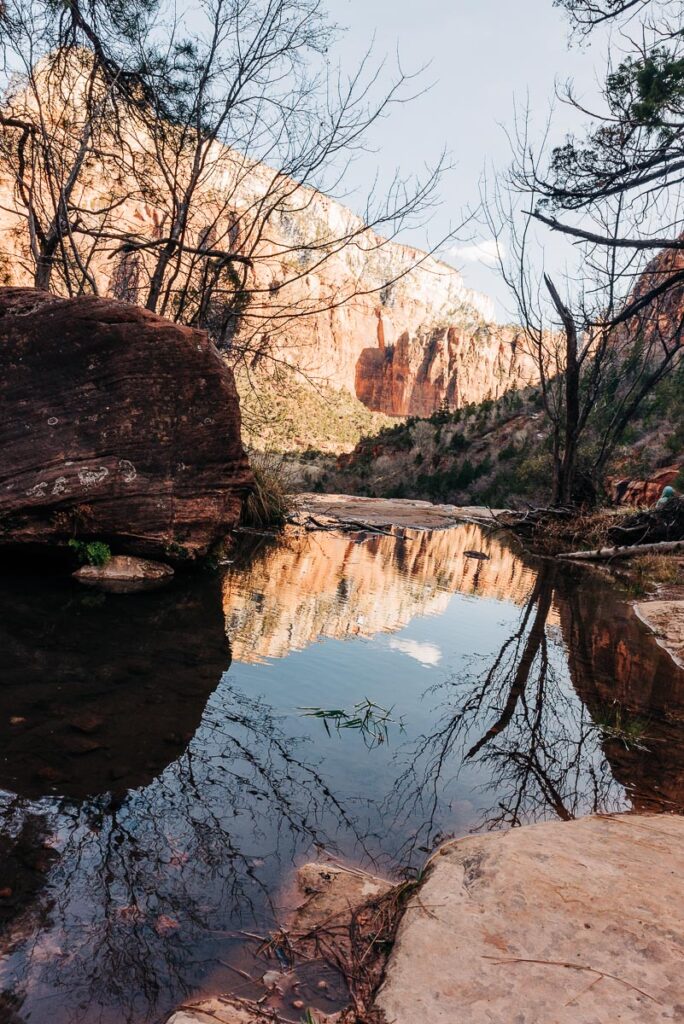
As you cross the bridge, be sure to stop and take a look around. You'll be greeted by some beautiful views of the river with the canyon peaks in the background.
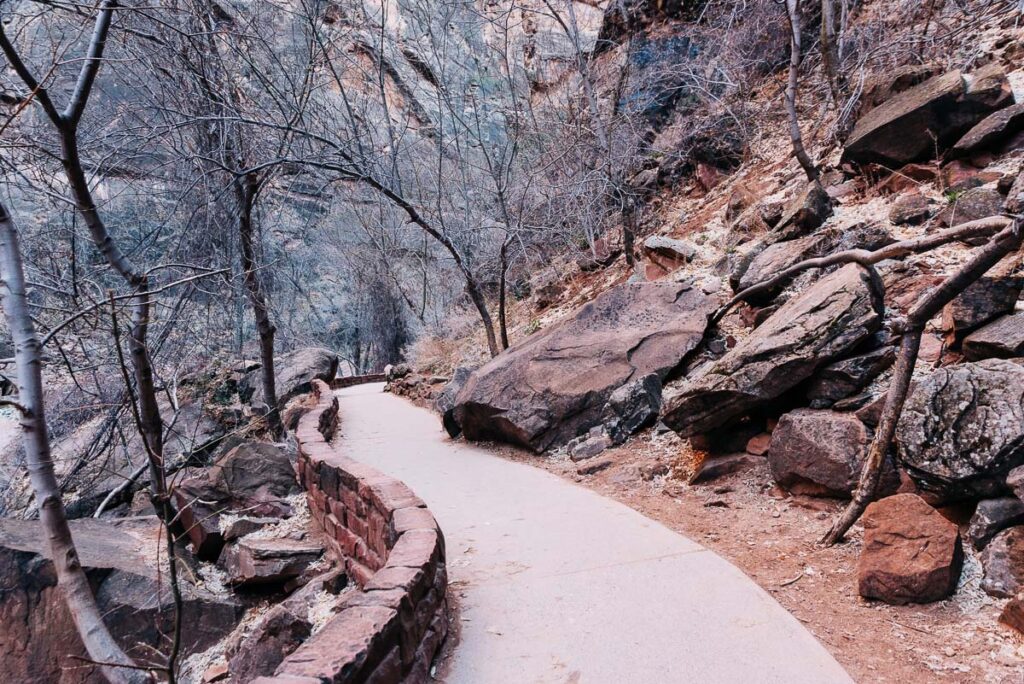
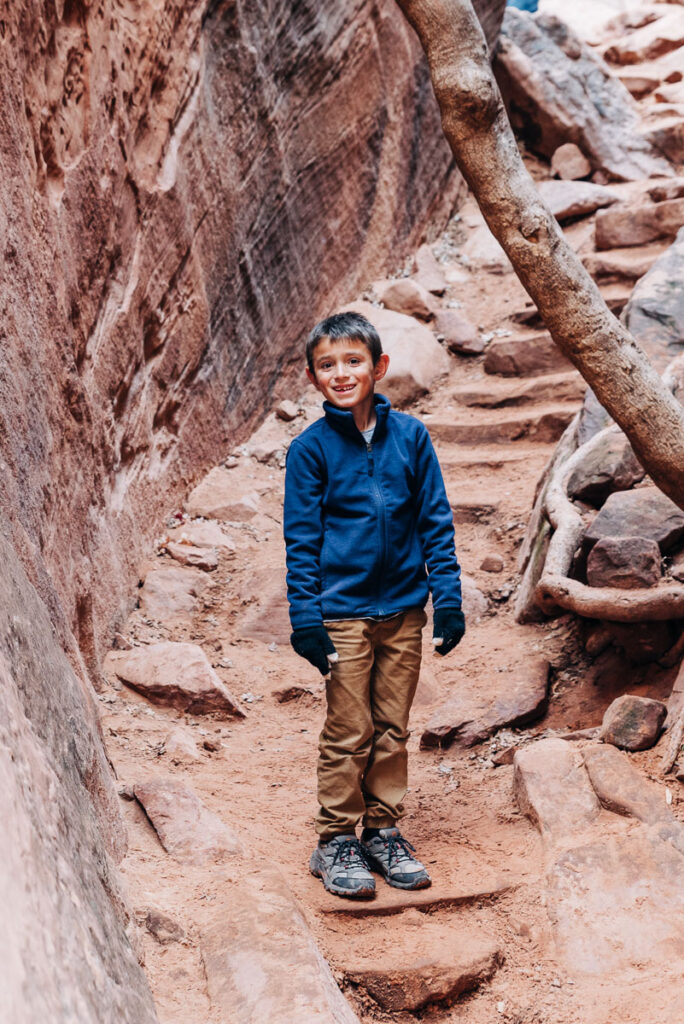
Cross over the bridge and head to the right to start off on the Lower Emerald Pool Trail. This part of the trail is the easiest of the three - it is relatively flat without much elevation. And most of the trail is pretty wide and open, making it easy for kids of all ages.
Here's an example of the terrain on the Lower Emerald Pools Trail.
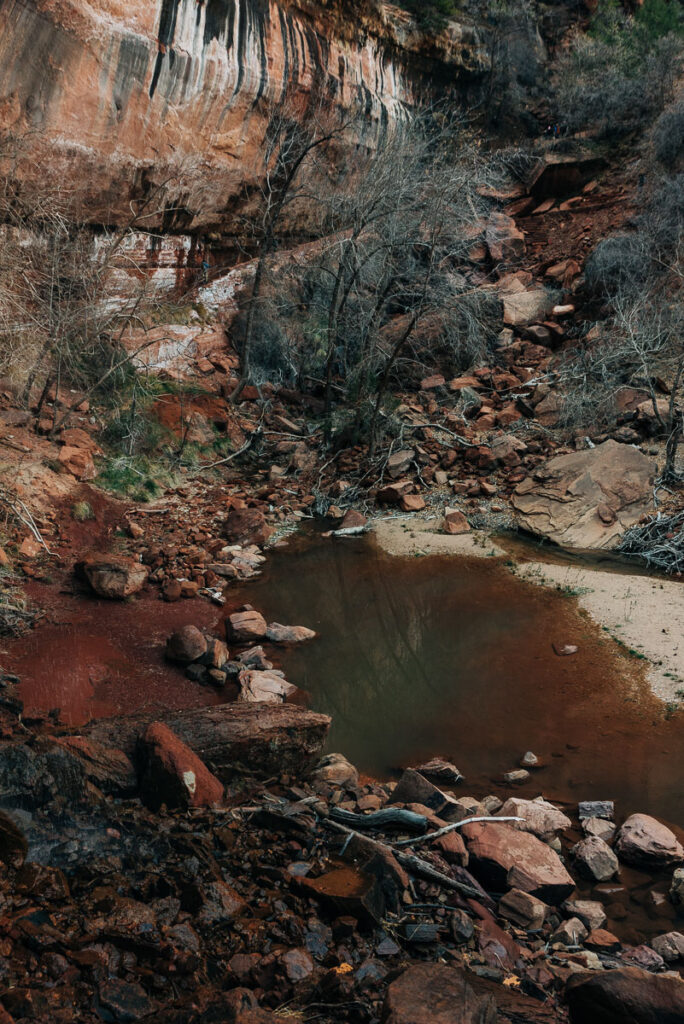
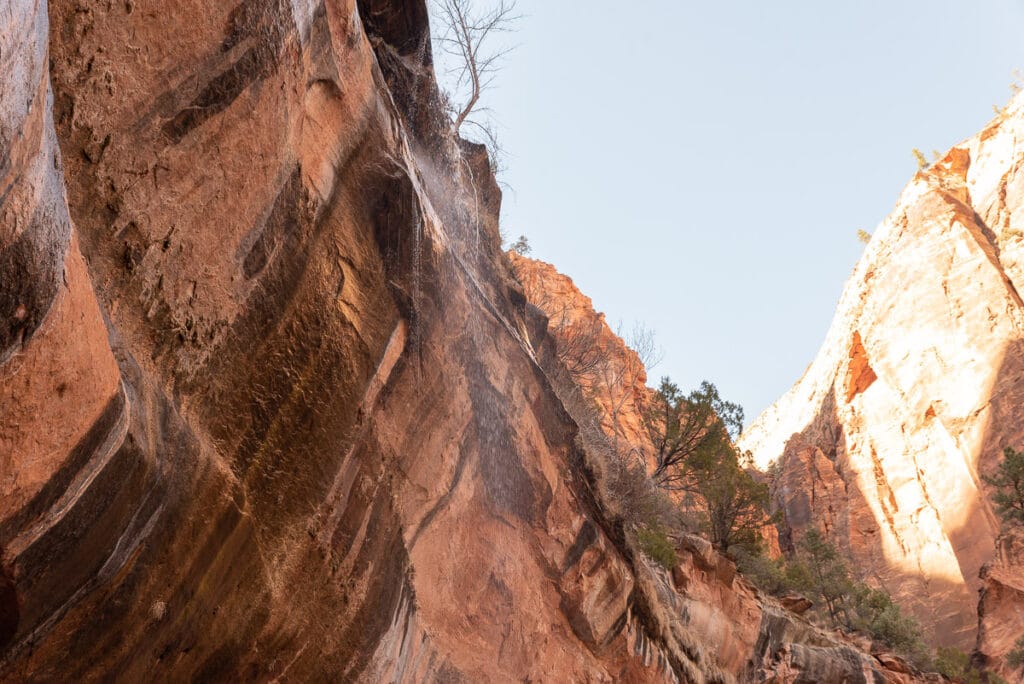
If you keep following the trail, you'll end up at the Lower Emerald Pool area, where there is a pretty little stream that is fed by some small waterfalls coming off the cliff face.
Whether the waterfall is really impressive will depend a lot on how much water is flowing that day. It was pretty light while we were there. There is a pathway where you can walk behind the waterfall as well, which leads to the entrance to the Upper Emerald Pool Trail.
And if you look up from that pathway, you can see that there is water flowing over the edge of the cliff. It is very neat to see - just don't expect to find Niagra Falls waiting for you. Personally, I think the reason to hike this trail is for the view from the middle trail rather than the emerald pools themselves, but that's just my two cents.
At this point, you've completed the Lower Emerald Pools Trail. If you're up for a little bit of a challenge, this is where you can hop on the Upper Emerald Pool Trail. This is definitely the most challenging section of the set of Emerald Pools Trails. There are a few very steep spots and a couple places that made me a little nervous.
But it is also pretty short - only about a half mile round trip. It's considered a moderately difficult trail. If you have adventurous kids, they will likely really enjoy the steep climb to and from the Upper Emerald Pool.
My son was six years old when we did this hike, and he didn't have any trouble keeping up but did need a hand to hold in some of the more narrow and steep areas. I wouldn't have attempted it with toddlers.
Keep in mind that if you want to opt out of the more strenuous Upper Emerald Pool Trail, you can turn back here. (Keep reading to see your two options for the hike back.)
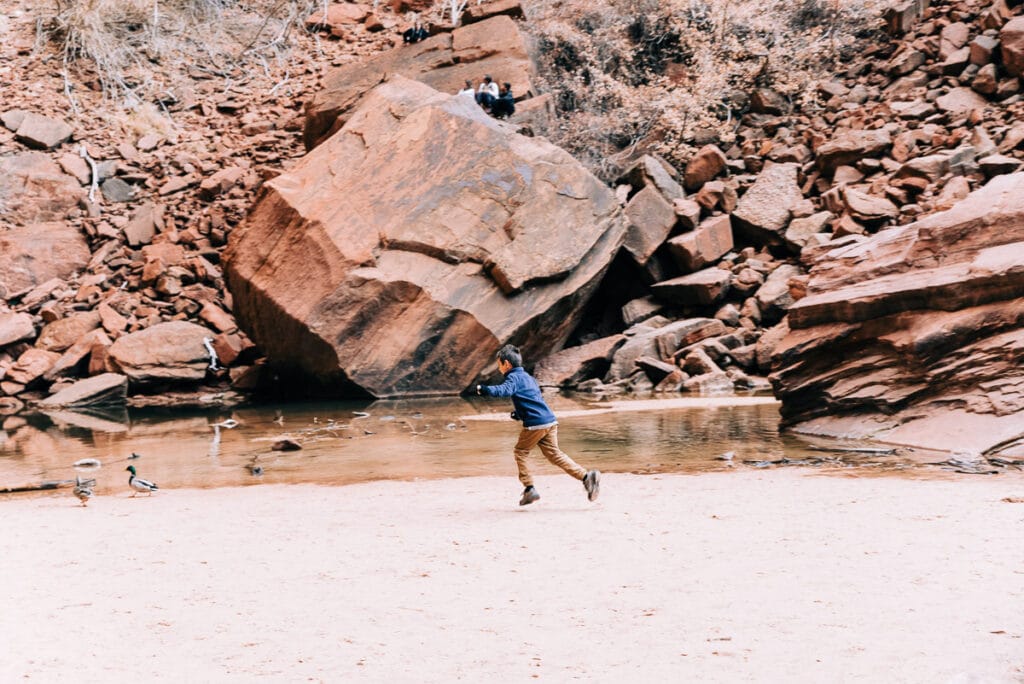
When you make it to the end, you'll find a small watering hole being fed by another waterfall. Again, the waterfall was more of a water trickle on our visit. But my son enjoyed playing here for a bit nonetheless.
After enjoying a little break by make your way back the way you came on the Upper Emerald Pool Trail. And now you have a choice to make! (Or if you opt to skip the upper trail, this is also where you decide the route to take back.)
If you're looking for the easiest and least strenuous route back, you can simply go back the way you came and hike the Lower Emerald Pool Trail back out.
Or you can opt to take the Middle Emerald Pool Trail back, which is a little more challenging than the lower trail but has much nicer views. I strongly recommend this option, as it offers some really stunning views for not that much more effort.

The terrain on this part of the trail is mostly dirt pathways. There is more elevation and some steep areas, but nothing that really made me nervous from a safety standpoint. It can be a bit slippery in wet weather, though.
I personally enjoyed the Middle Emerald Pool Trail most out of the three parts, thanks to the beautiful views of the canyon and the Virgin River. You also get a chance to see the lodge area from above, which is pretty neat too.

This trail will take you right back to the trailhead where you started. I suggest heading over to Zio Lodge from here for a nice ice cream break at their cafe!
Pa'Rus Trail
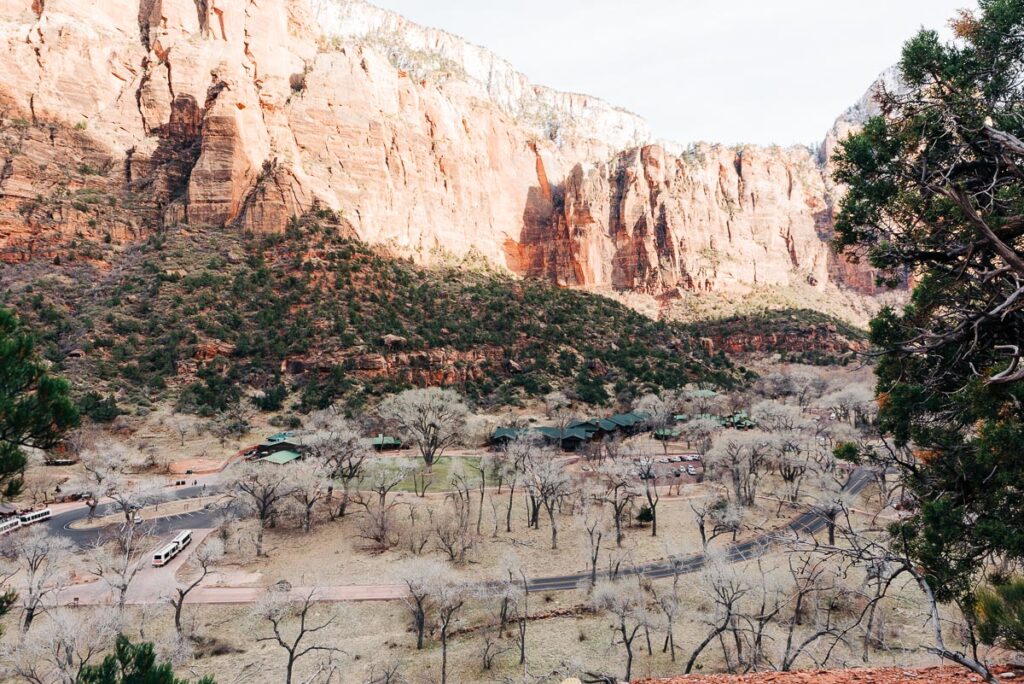
The Pa'Rus trail (pronounced "pah-roos") was one of my personal favorites on our own family vacation. This 1.7 mile long paved trail stretches from Canyon Junction on the north end to the Visitor's Center on the south end.
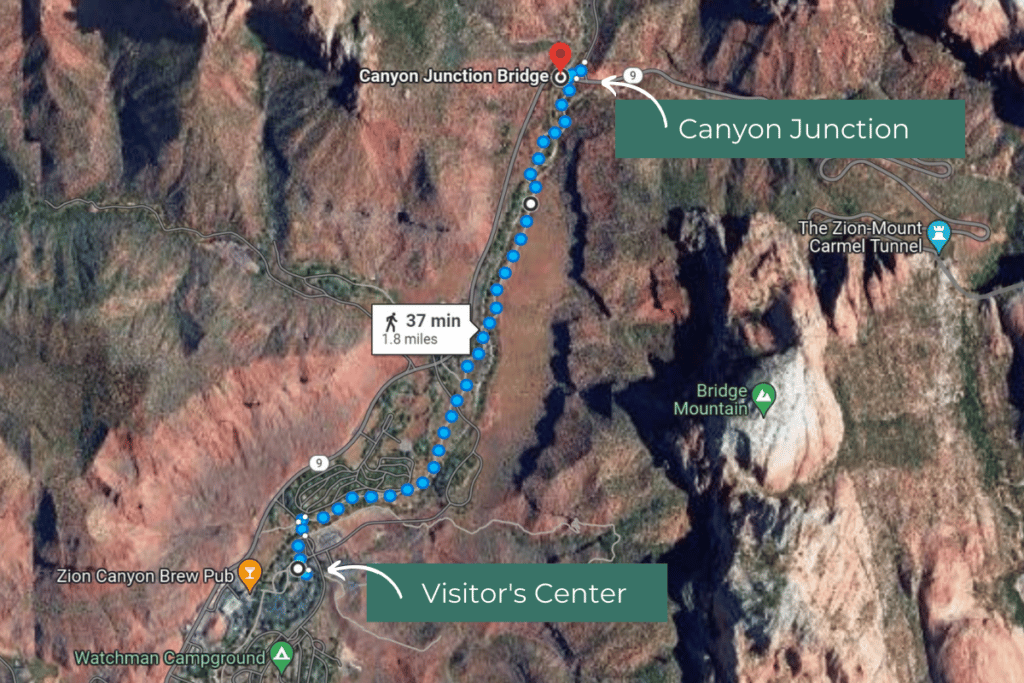
Map data ©2022 Imagery ©2022 , Maxar Technologies, State of Utah, USDA/FPAC/GEO
So you have a few options for hiking this particular trail. You can start at the Visitor's Center and hike one way to the end of the trail, and grab a shuttle back at the Canyon Junction shuttle stop. And of course, you can also do that in reverse, starting at Canyon Junction and hiking south to the Visitor's Center.
Or for a longer hike, you can start at either end and hike it as a 3.4 mile out and back loop!
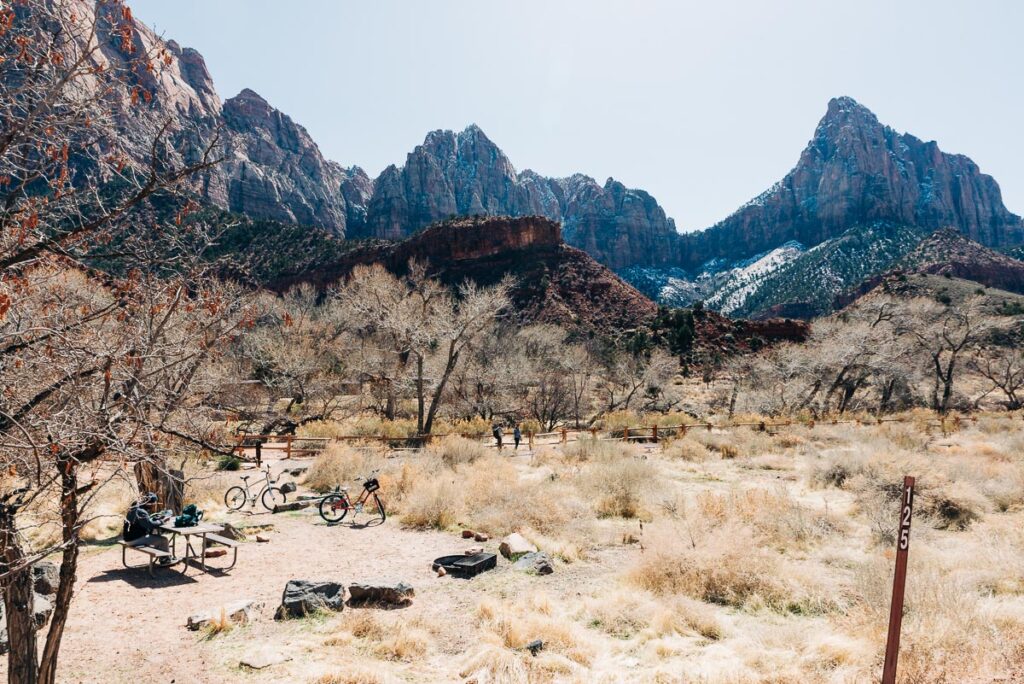
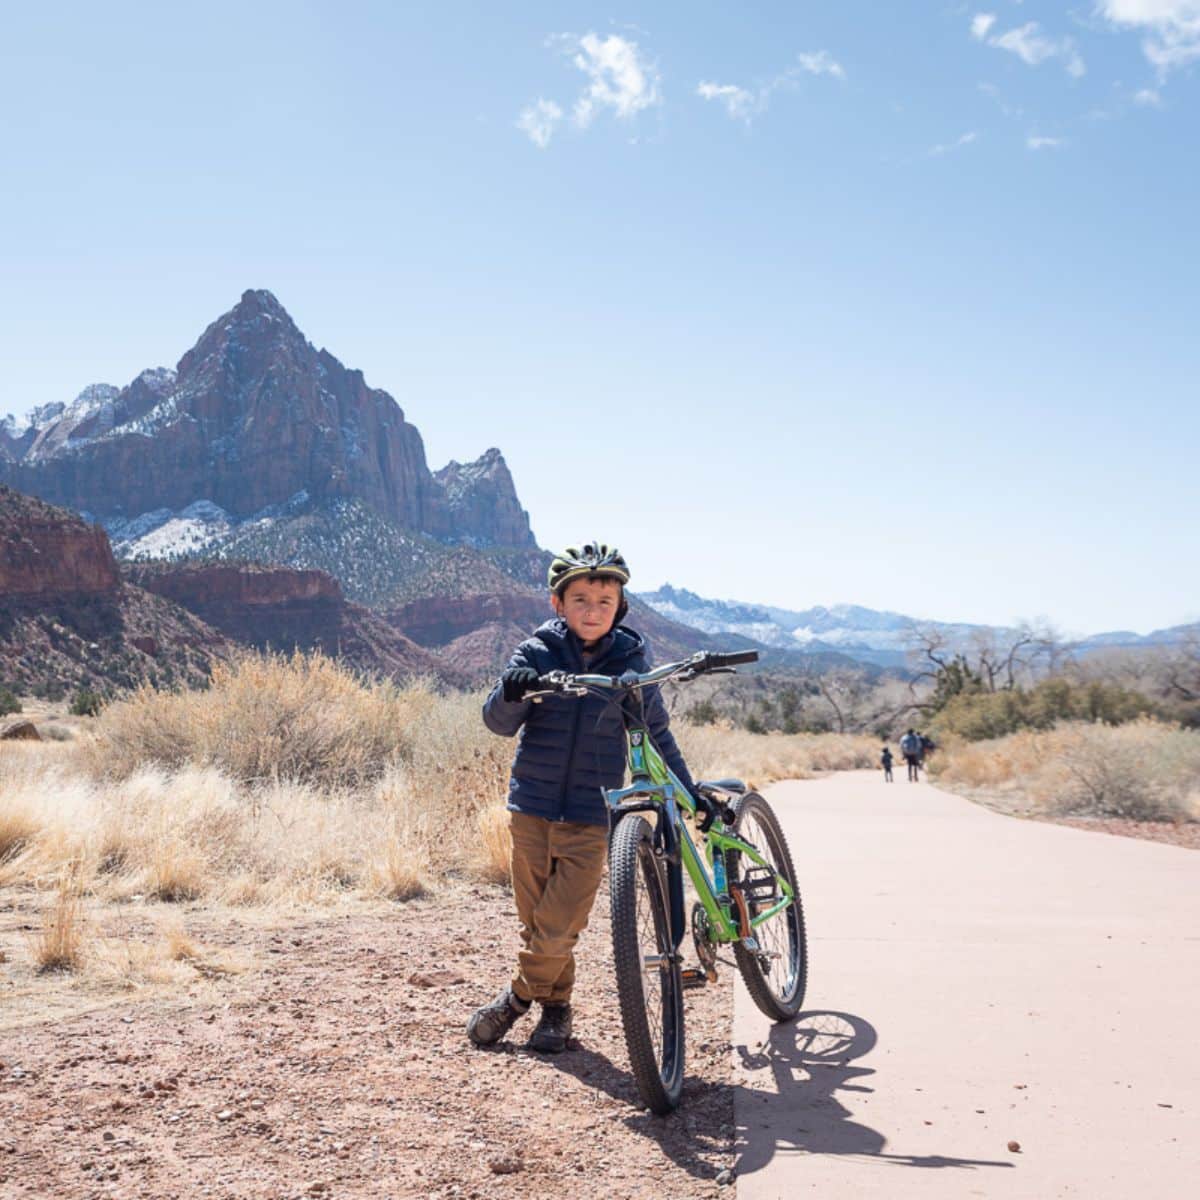
You should also note that the Pa'Rus Trail is more of a multi-use trail than a traditional hiking trail. It also serves as a bike path and it's one of the only trails where pets are allowed too! So you'll find all kinds of activities happening along this popular route.
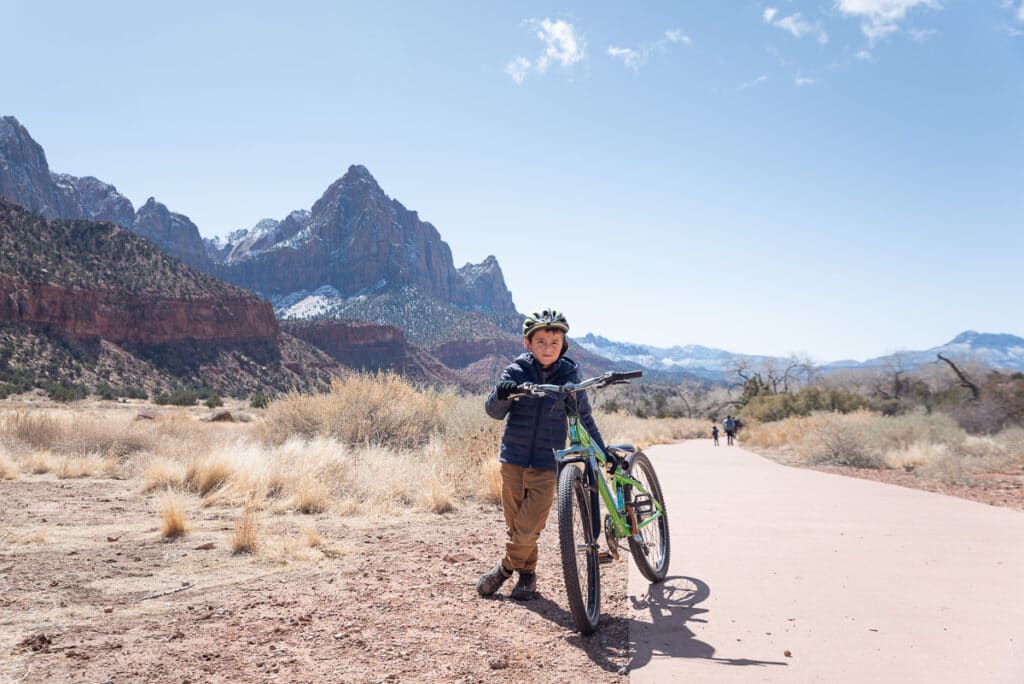
We actually opted to rent bikes and ride the Pa'Rus Trail. You can read about that in our full Zion trip report!
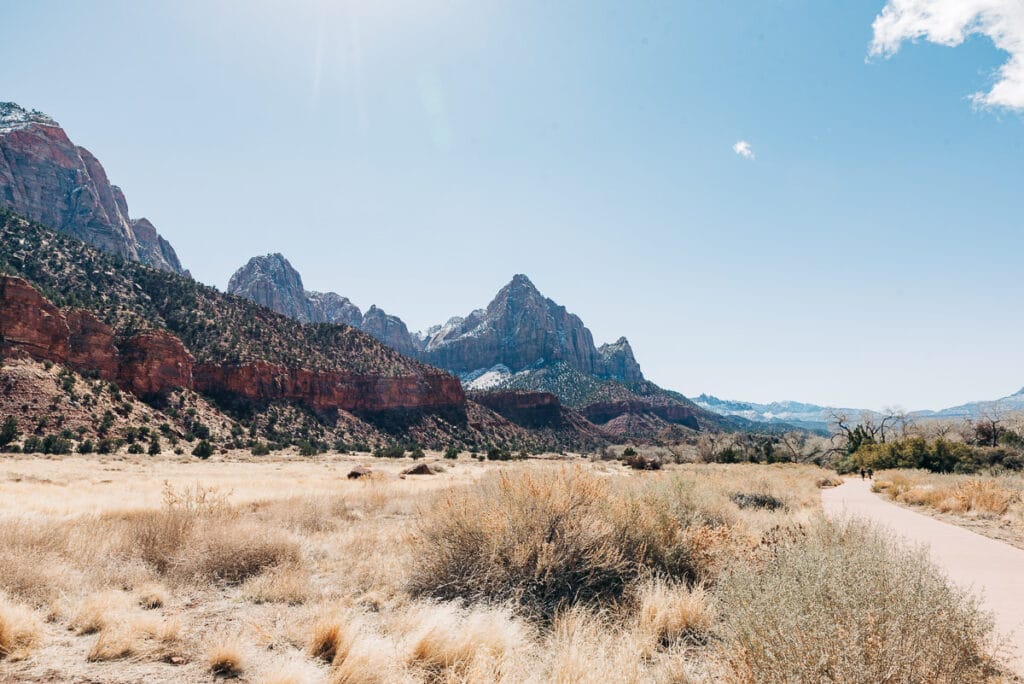
This trail is very easy for families with small kids - as the whole thing is flat and paved. There's no really steep areas or dangerous spots, although you should watch out for fast cyclists. You could even easily take a stroller on this trail!
I thought that the scenery along the Pa'Rus Trail was some of the most beautiful in the whole park. I would say this is one of the most underrated trails in Zion.
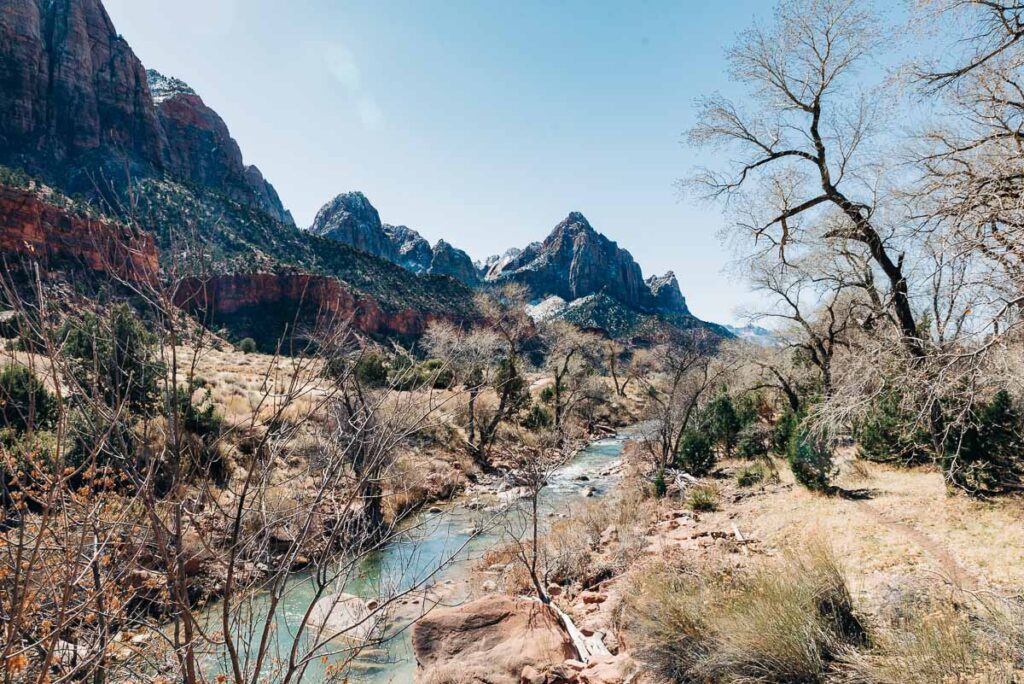
The trail zig-zags over the river via these small footbridges, so it feels like the view is constantly changing bit by bit. (And kids love bridges, so bonus!)
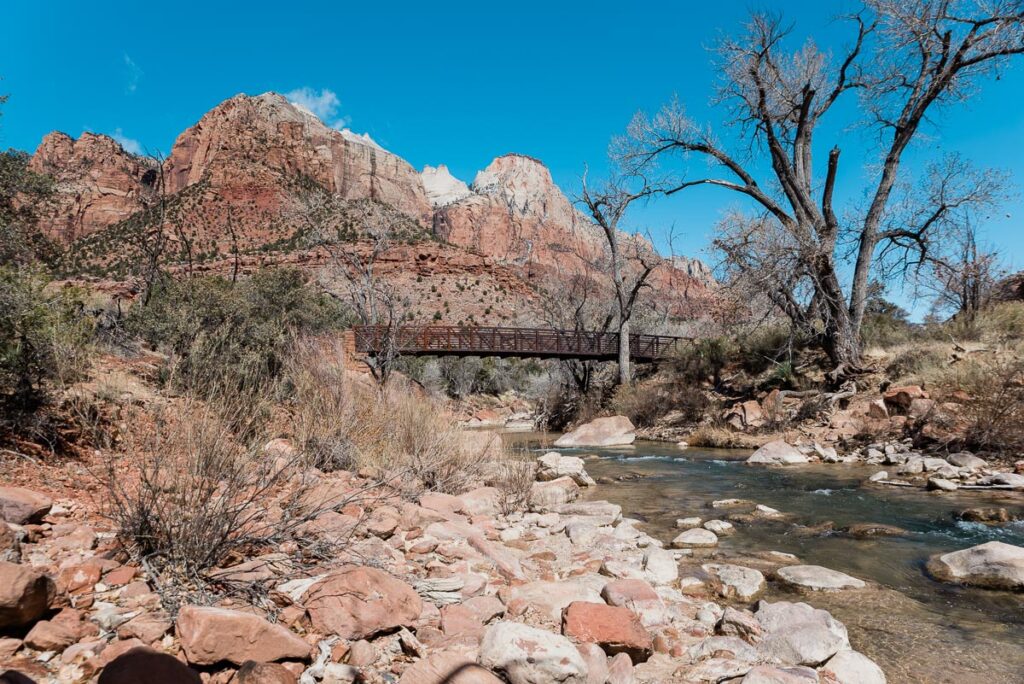
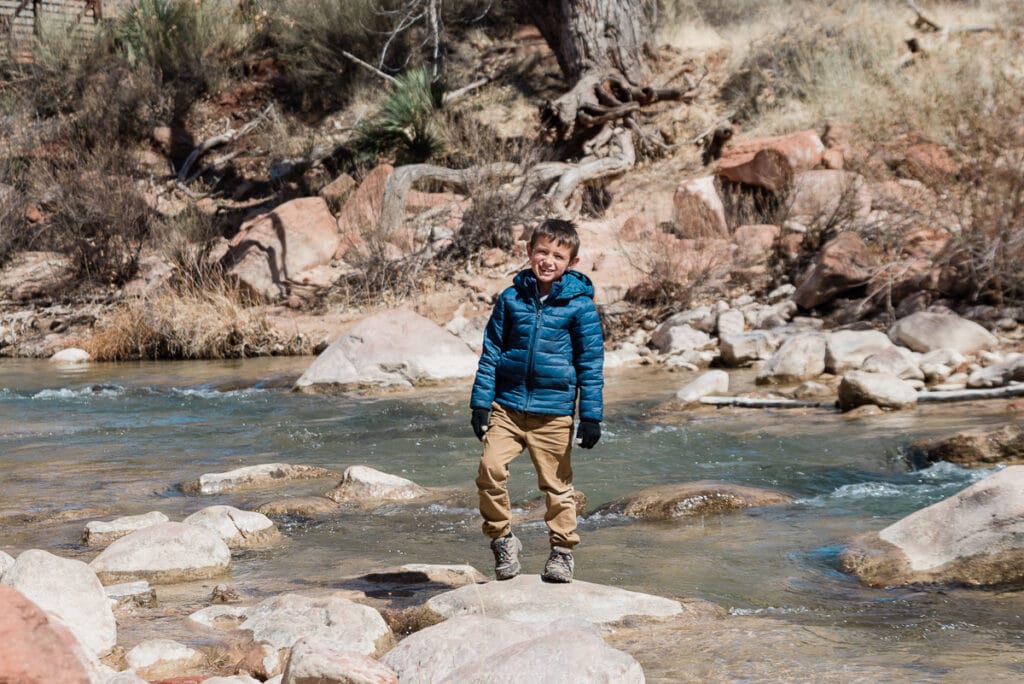
And there are plenty of spots to make your way down to the river bank. We had several breaks for climbing rocks, hopping between river stones, searching for frogs, and all the other stuff kids can come up with. ;)
As I mentioned, we opted to bike this trail as we had done quite a lot of hiking already at this point in our Zion trip. But whether you choose to bike or hike it - I would rate the Pa'Rus Trail as a must-see in Zion!
The Grotto
Ok, the Grotto trail is a bit boring in comparison to the other incredible trails we've already covered. But if you find yourself at Zion Lodge with a little extra time to kill and some rowdy kids - this is a nice way to burn off a little energy.
The Grotto Trail runs from Zion Lodge up to the next shuttle stop about .6 miles north. If you hike from the lodge and back, it's a quick 1.2 mile roundtrip loop. There is a bit of an uphill climb when heading north from the lodge, but nothing strenuous.
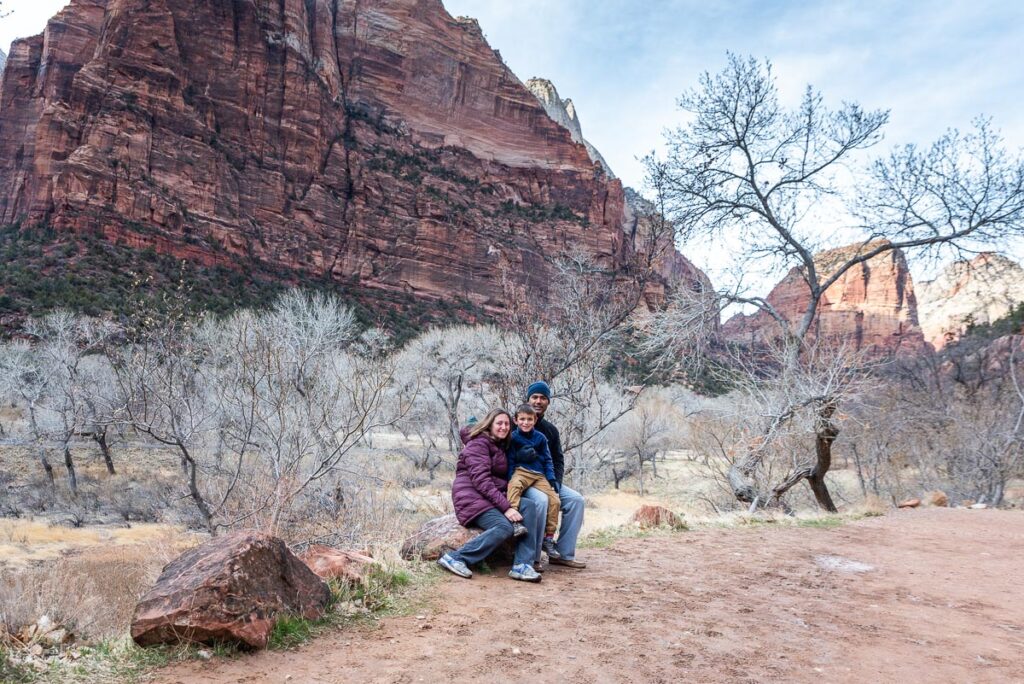
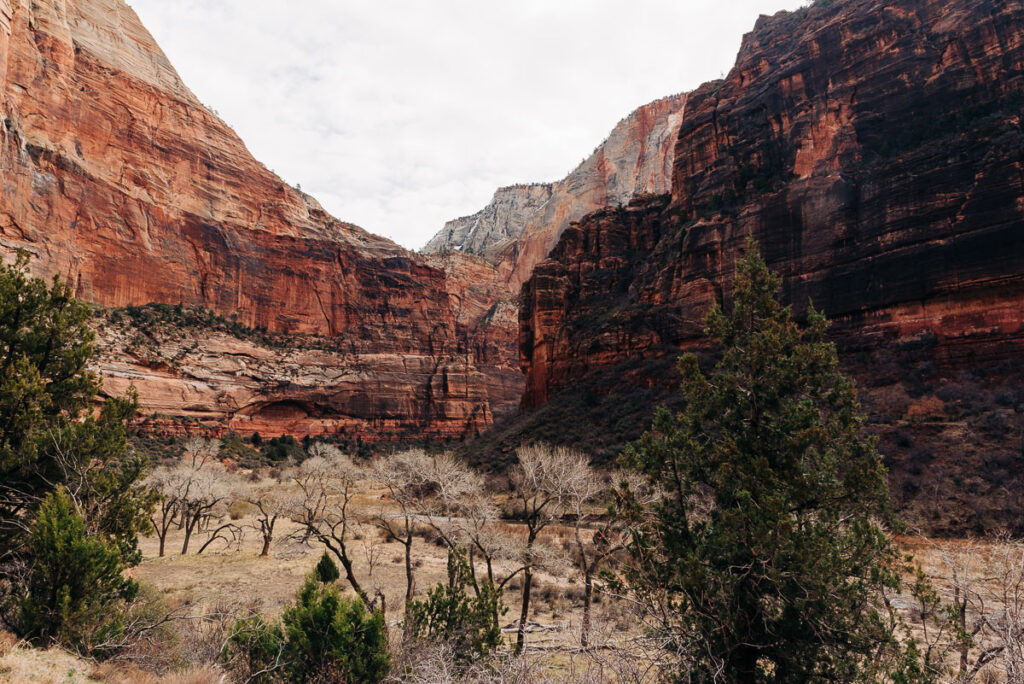
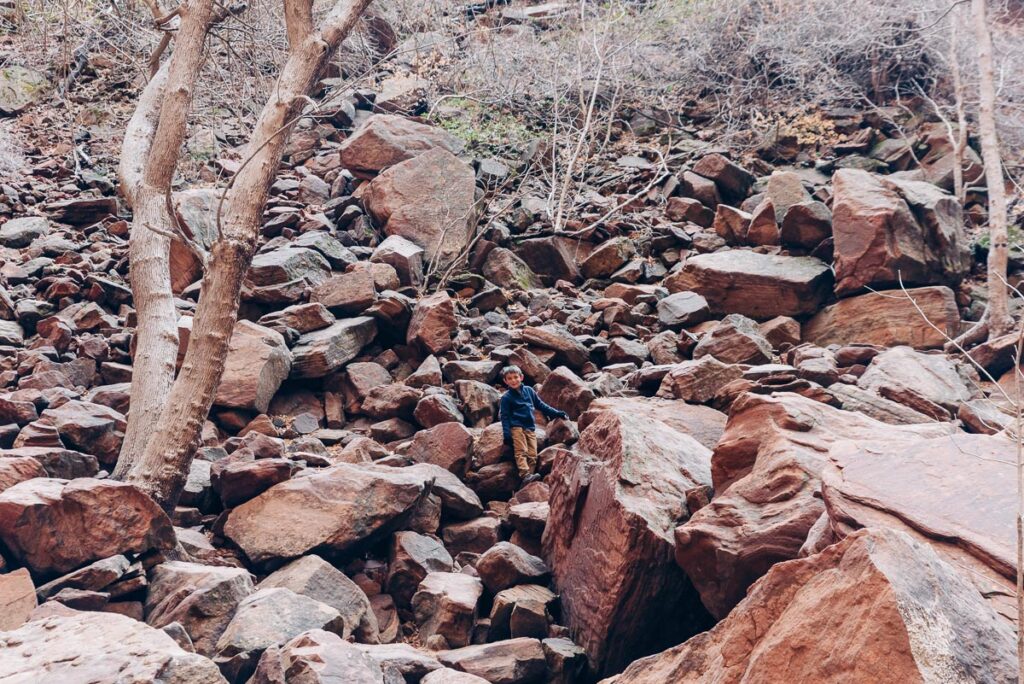
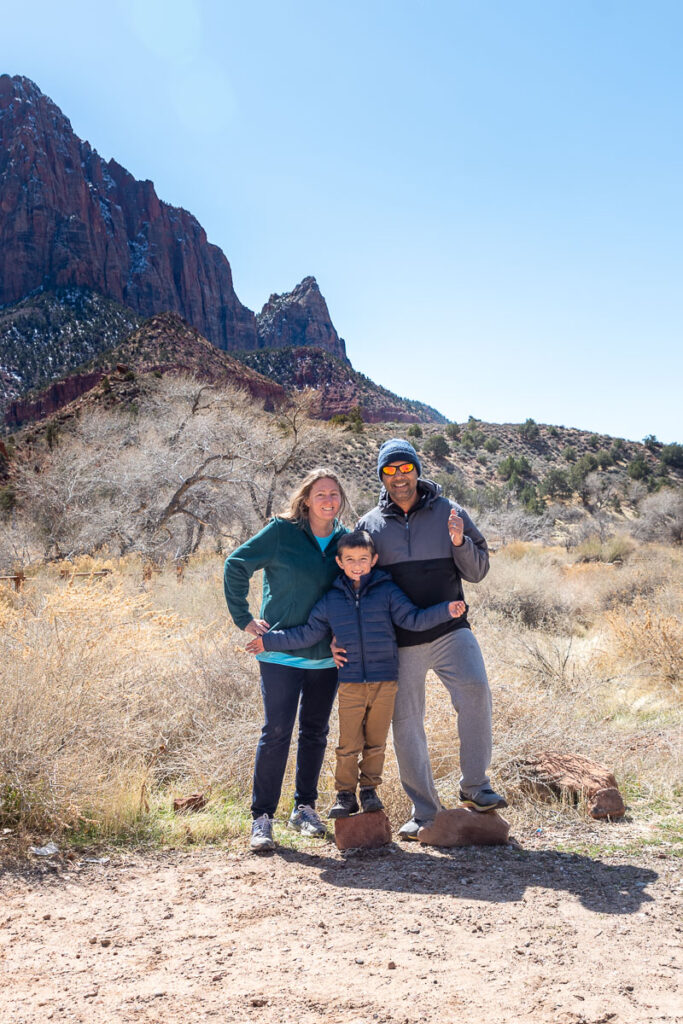
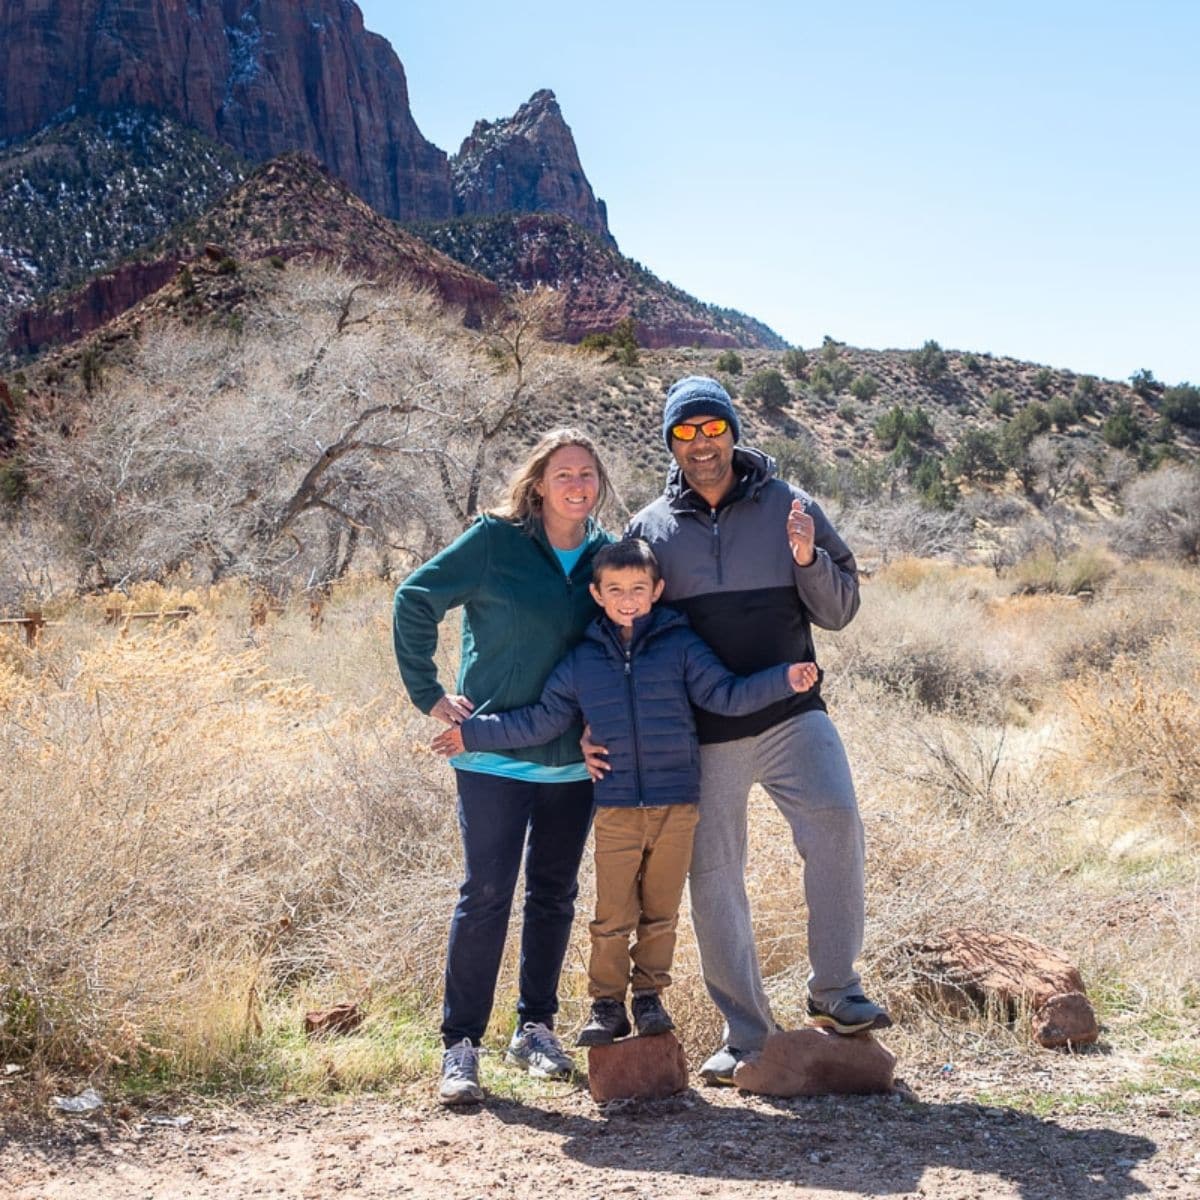
The views are not anything to write home about over here. But there are still some nice places to enjoy the beautiful red rock cliffs. We found it was also a quiet place to grab some family photos.
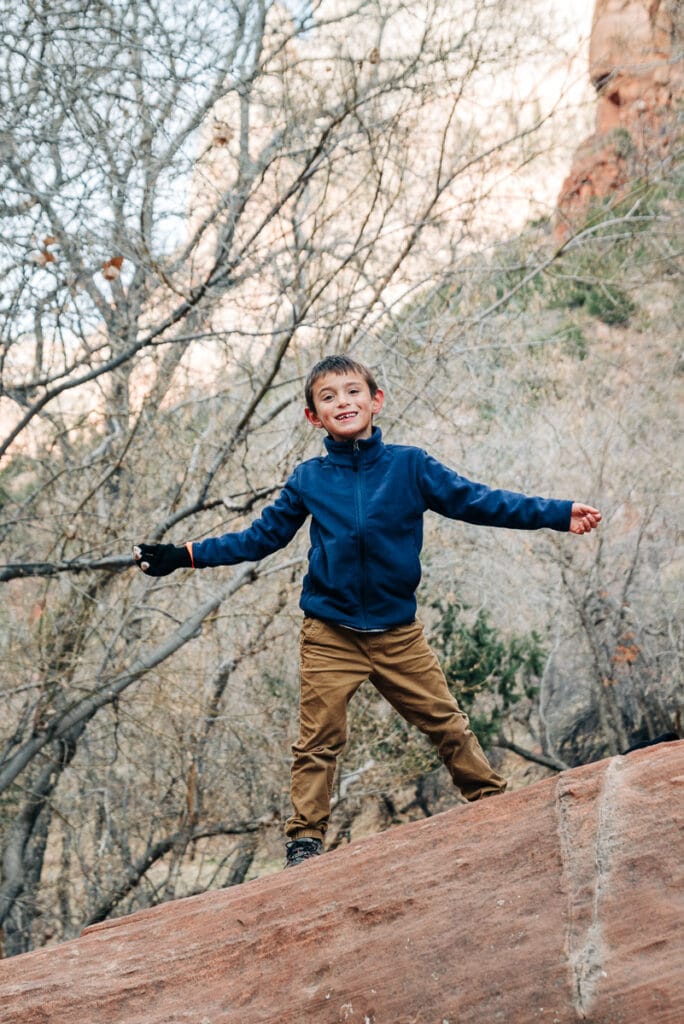
And my son enjoyed climbing around on the giant fallen tree trunks that we found alongside the trail. It's also a great area to spot deer, so be on the lookout!
Overall, if you have a packed agenda, I wouldn't worry about trying to squeeze The Grotto trail into your itinerary. But if you find yourself already at the lodge, without time for a longer adventure, it's an easy trail to tackle for most families.
Canyon Overlook Trail
Canyon Overlook Trail is a fun one to tackle with slightly older kids. In terms of difficulty, I would day this was a little bit more difficult than the Upper Emerald Pool Trail that I mentioned earlier. There are some very steep areas to navigate and some narrow areas that are precariously close to the cliff edge.
More experienced hikers will likely still consider this trail pretty tame, but I would say that you should be in reasonably good shape to tackle this one!
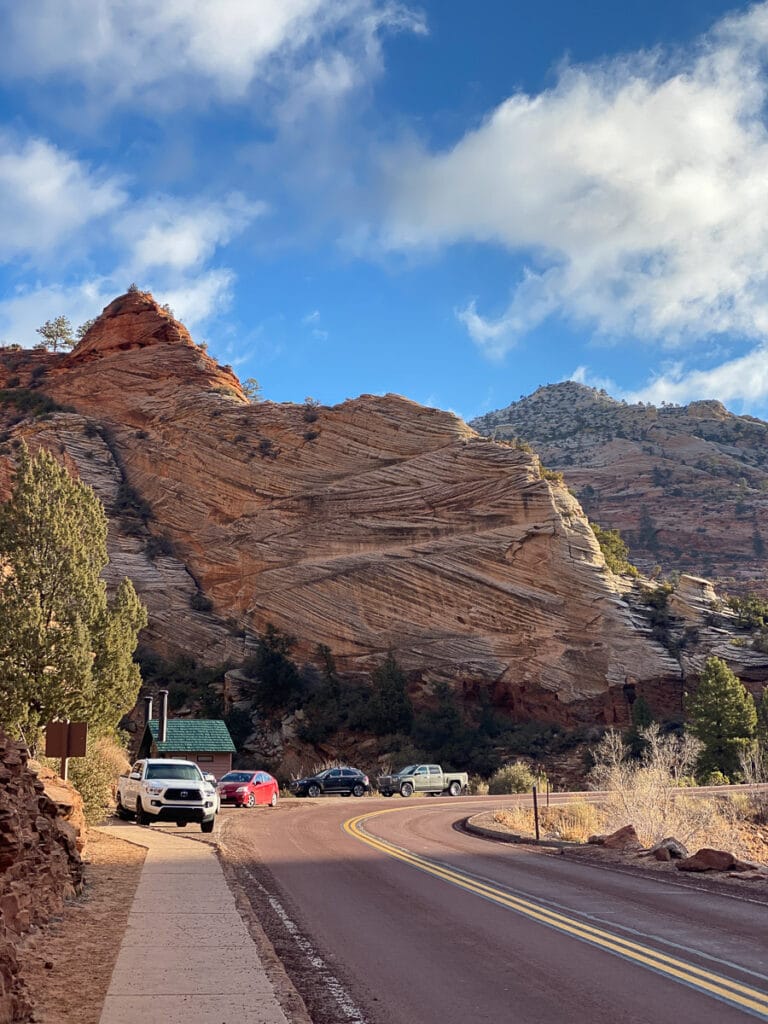
To get to the trailhead, you'll need to drive East from Canyon Junction on the Zion-Mt Carmel Highway. You'll make your way through the famous one mile Zion Mt Carmel tunnel, and look for the small parking area that is immediately on your right as you exit the tunnel.
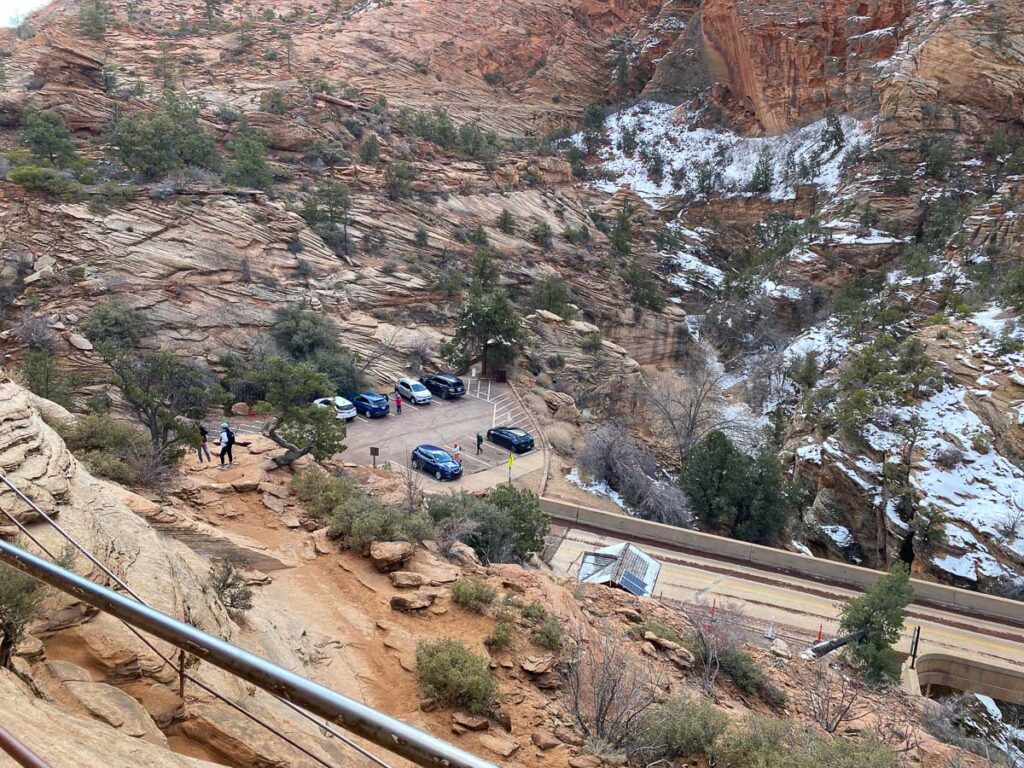
There's a good chance that this small parking lot will be full since there are only a few spots. In that case, you should continue ahead and look for the overflow parking on the left. You'll see some additional parking spaces, and you'll likely find that people have started parking along the roadside as well. Find a safe spot to park, and walk back to the trailhead.
I strongly recommend that you take this hike as early in the morning as possible, to avoid crowds and ensure you can find a parking space. It's a bit of a pain to get out here compared to the hikes right in the main park area, and you don't want to have to turn back because you couldn't park!
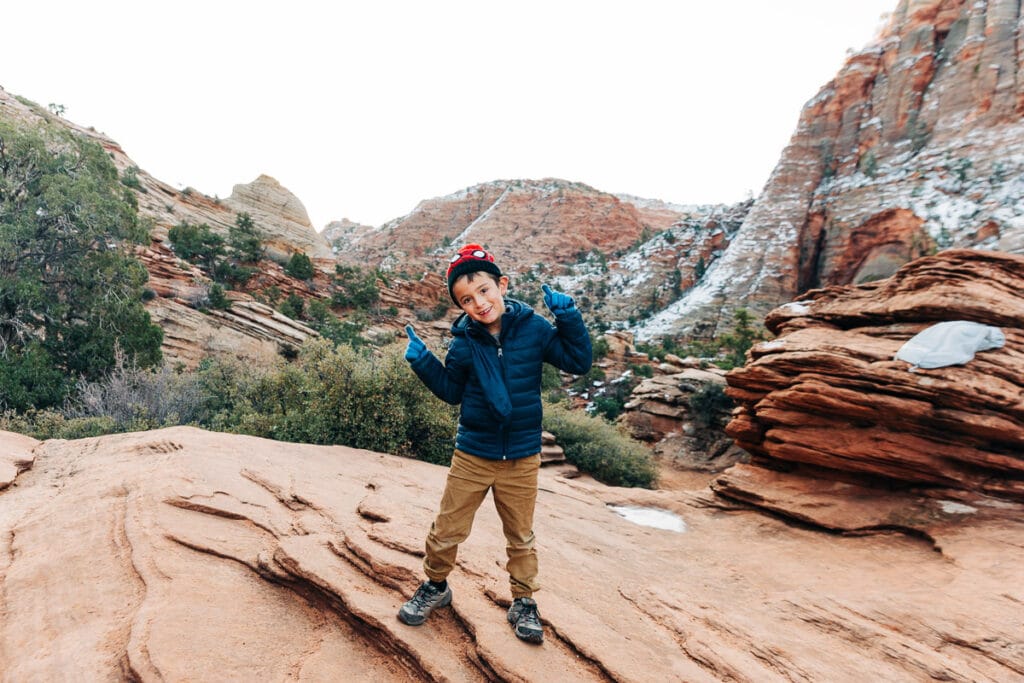
If you can get the family to cooperate, this is the perfect place for a sunrise hike. That's what we did!
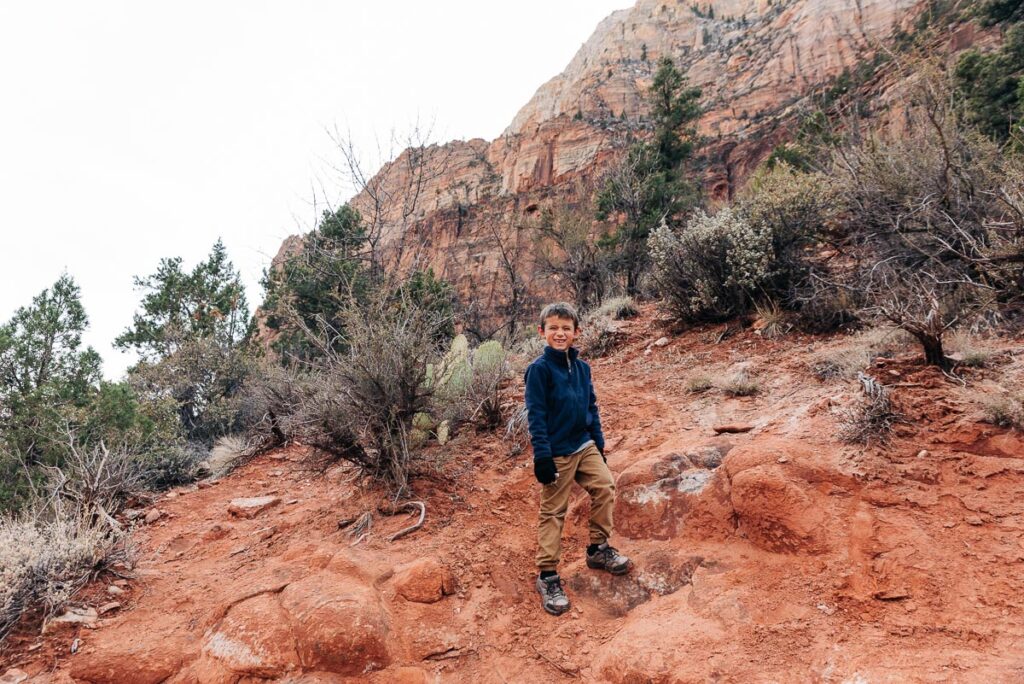
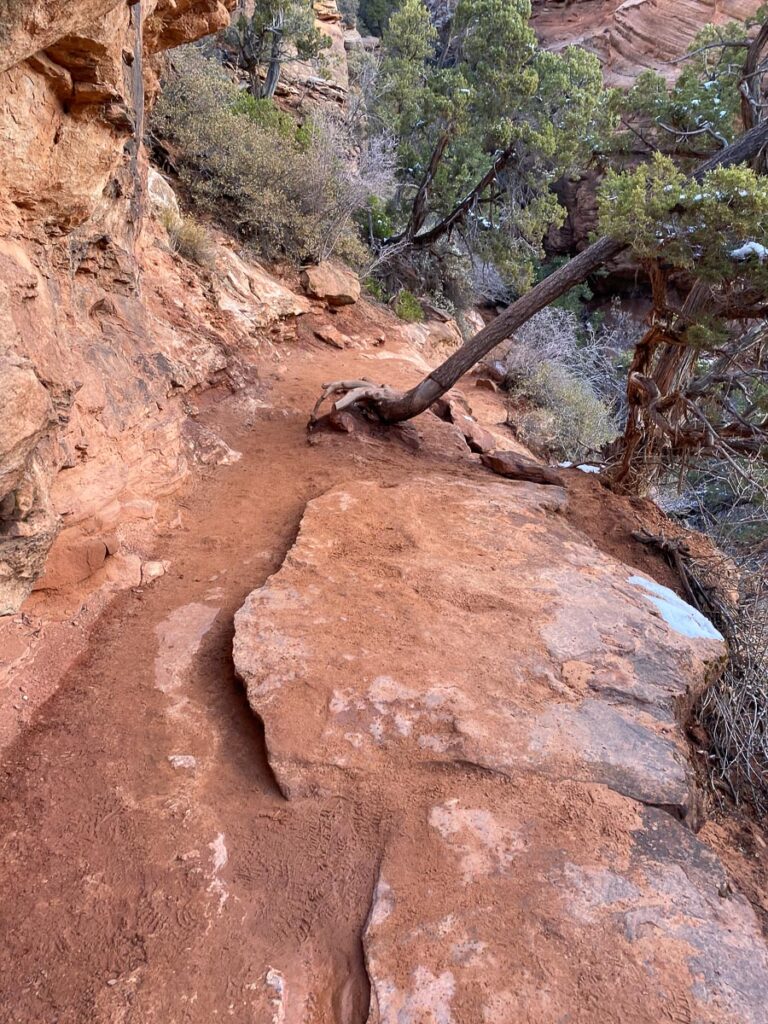
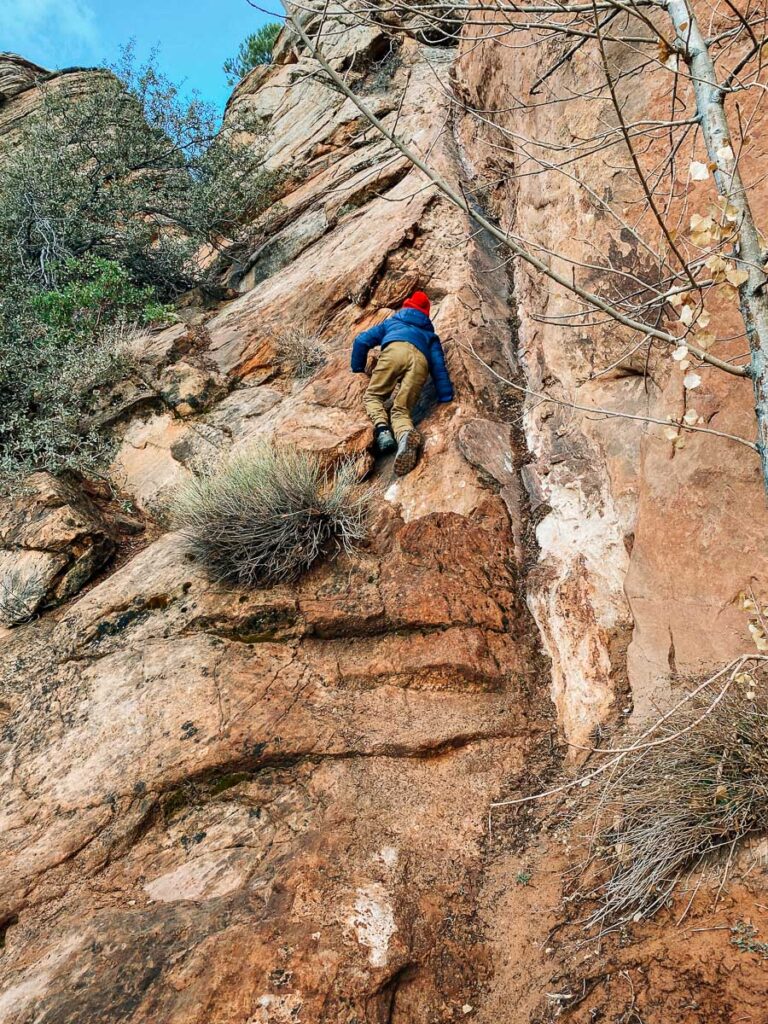
Now to give you an idea of the terrain! You'll find mostly a packed dirt trail, with some uneven and rocky areas like the picture below. And in some places it can get quite steep. You are going up nearly 200ft of elevation in just a half mile!
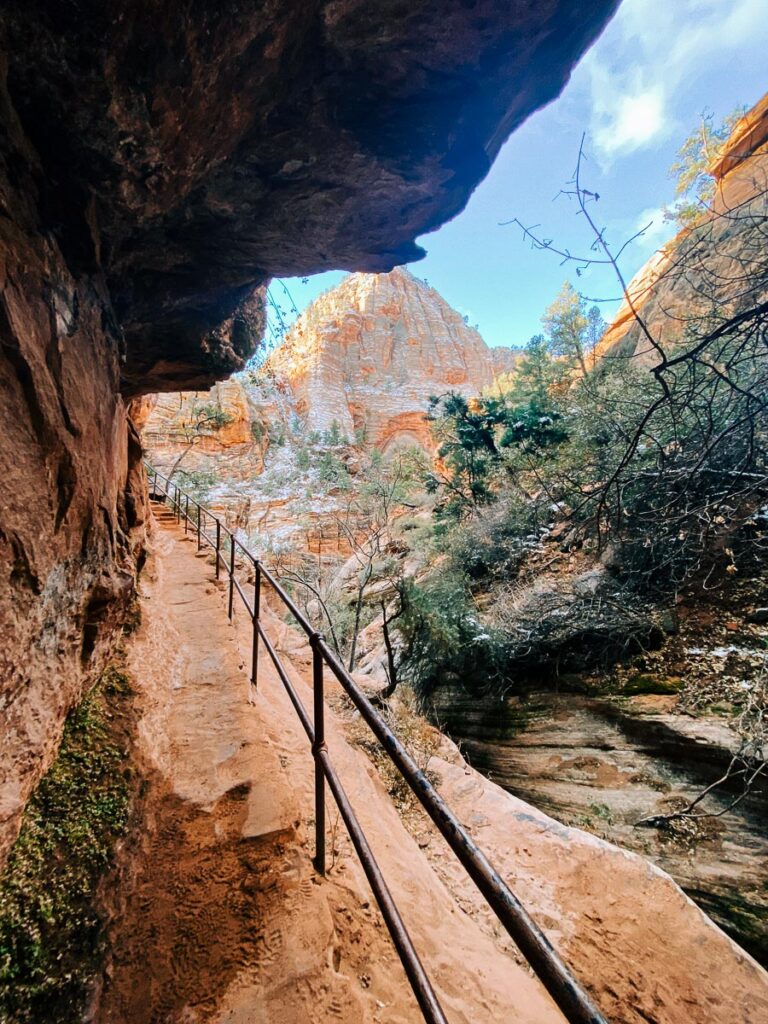
There are also quite a few narrow areas to navigate, with steep drop offs. Many (but not all!) of these narrow areas have a handrail to make it a bit safer. But it is still important that little ones have a hand to hold for a little extra insurance.
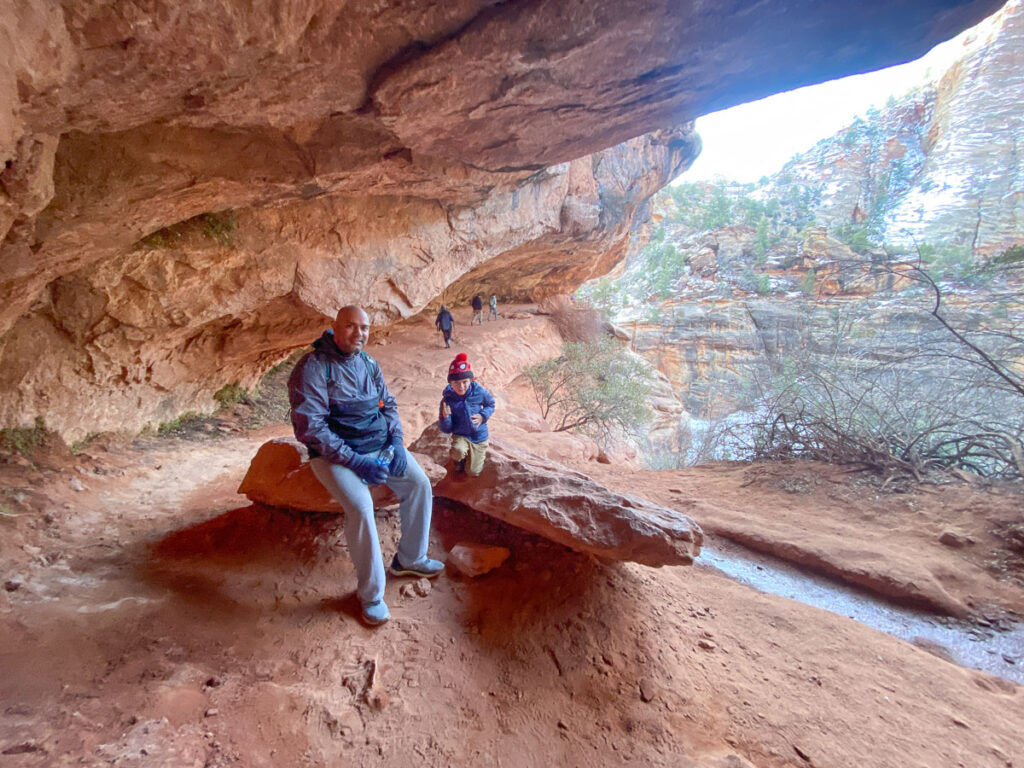
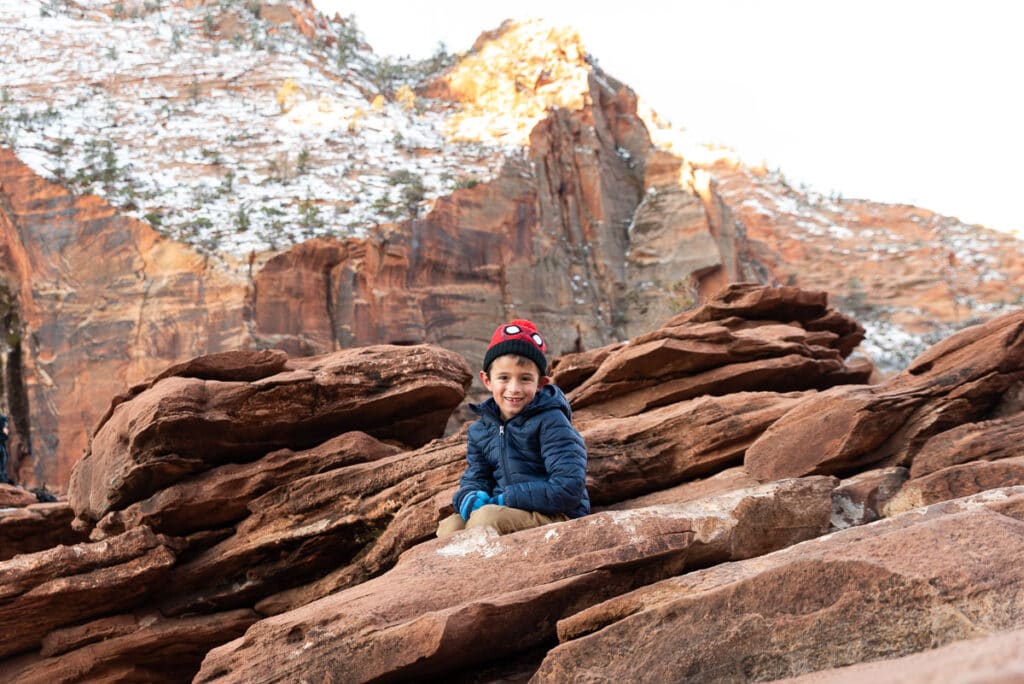
There are several great places along the short route to stop for a quick water break. My son loved this little cave-like area, which had a beautiful view. (Note that steep drop off in the background, with no hand rails.)
And we even found a few safe areas to let him climb the rocks! Don't worry, there is plenty of flat ground below us in this spot.
When you make it to the top of the trail, you'll be greeted with a beautiful view of the canyon from Canyon Overlook. This is a popular spot for photographers to set for sunrise photos too.
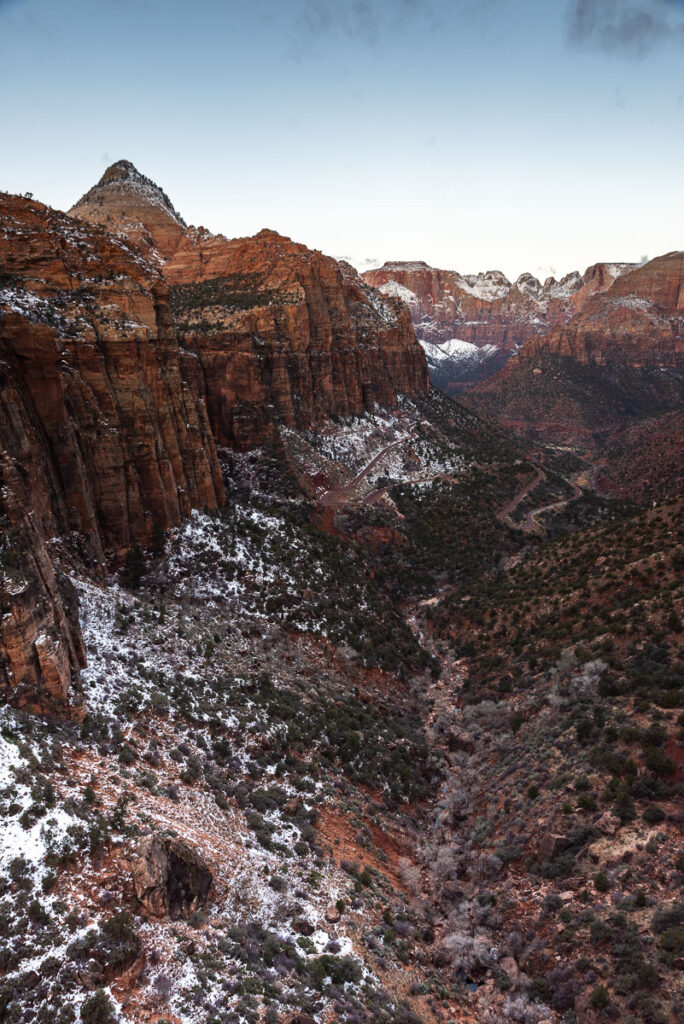
The viewpoint area is pretty large, so we didn't find it too crowded when we visited in the early morning. There was plenty of space for families to spread out and enjoy the view. But take note that there are no railings up here - just a drop off the cliff. So you'll have to keep the kiddos close by.
This is a great place to pack a little picnic breakfast (or an afternoon sip of wine) and have a little picnic. Or at the very least, pack some snacks for the kids and take a nice long break before you head back down the way you came.
This was one of our most enjoyable hikes on our Zion trip. It was just adventurous enough to feel exciting but not too scary for me to relax and enjoy it!
We saw other families tackling this trail successfully as well, but we also saw a couple families turning back as their kids were just not able to handle the tricky terrain safely. So you need to use your own judgment.
The Narrows
The Narrows are one of the most famous and popular hikes at Zion National Park. But I've put it at the bottom of my list, because frankly most families with kids are not going to be able to tackle this one.
The Narrows are literally the narrowest part of the canyon, and in order to hike it, you actually hike in the Virgin River. Yes, literally in the river.
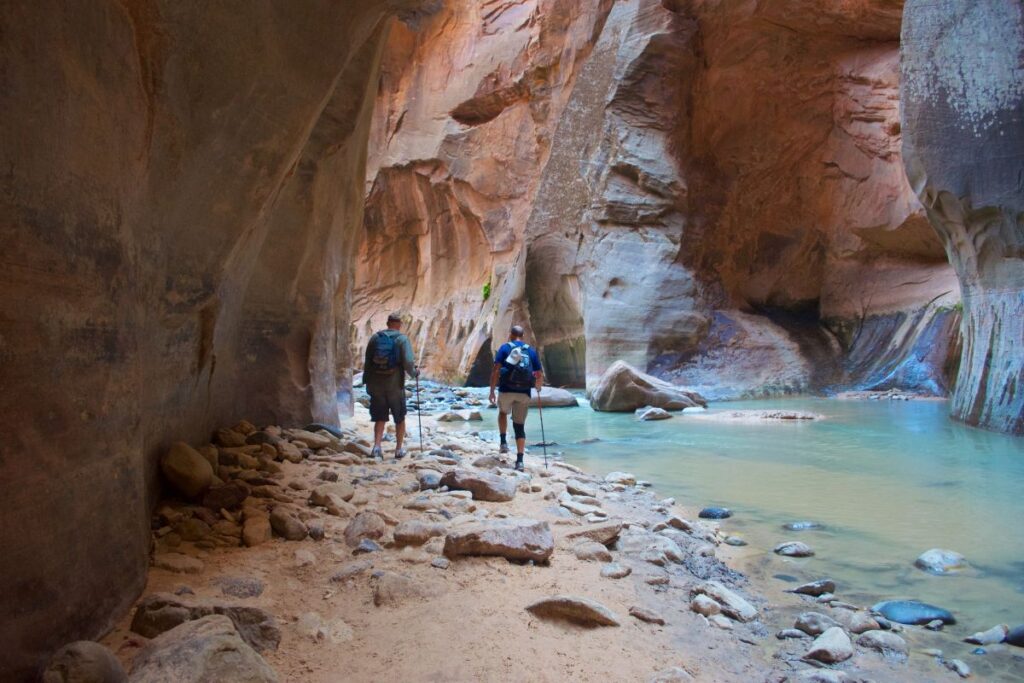
(Image via Canva Pro)
Now depending on the height of the river at any given time, this hike can be moderately hard or insanely difficult. At the very beginning of The Narrows, the water may only be ankle or knee deep and you simply wade through it. But at other parts of the trail, the water can be waist high or deeper and require swimming.
And keep in mind that even if you can touch the bottom, your kids might not be able to. And unless you are in very good shape, you will have a hard time holding them up while hiking on slippery river rocks!
So.... I actually don't recommend The Narrows for families with small kids.
But if you have older kids that are in reasonably good shape, there's no reason you can't give this a try. You can head into the Narrows and simply turn back around and hike out when the conditions start to become too difficult for your family.
But I suggest you keep a few things in mind if you're going to tackle this one:
- This hike is only an option if you are visiting in the warm summer months. (Yes, some crazies do this hike in winter. But don't even think about that with kids!)
- Be sure to check the river conditions and make sure it is safe to enter the Narrows on the day of your hike. You do not want to be anywhere near this area during a flash flood.
- You will need to properly outfitted. This will almost certainly include hiking poles and may include full waterproof gear depending on the water temperatures when you visit. The water is cold all year round. You can gear and guidance from Zion Outfitters or similar vendors in Springdale.
Since we visited in March when it was still very cold and snowy, we were not able to attempt The Narrows, but it remains on my bucket list!
So which hike should we do?
If you're traveling with younger kids and only have time for one hike, I would choose either Riverside Walk or the Pa'Rus trail. Both are very easy hikes with beautiful scenery, and perfectly safe for little kids or even strollers.
If your kids are a bit older and up for a little more of a challenge, I would choose either Canyon Overlook Trail or the full Emerald Pool Trails loop (including the Upper trail). Those will give you more of an adventure, without being too much to manage with kids.
Of course, it's even better if you have time to do a few trails on your trip. For more ideas of things to do at Zion with kids, be sure to check out our full Zion trip report.
Leave a Reply